Visual Acuity Test
This webpage offers a way to measure the visual acuity of your eyes. It is a companion page to the article ‘Just how useful is 2160p aka 4K?’ where the acuity measure is used to determine whether someone could see a difference between a Full-HD and an Ultra-HD image. Traditional methods for measuring visual acuity use small images like an ‘E’ or ‘C’ shape, the method used here is different but should offer the same accuracy in a setup that can easily be tested on one's own.
The test is simple in theory: you need to look at an image and move away from the screen until you no longer see a certain pattern. For this to work, it is crucial that the image is displayed properly. The test cannot work if the test image is distorted by your computer, smartphone, tablet, projector, … Every single pixel in the image must end up on the screen either as a single pixel or a square group of pixels with no blending. If the image is downscaled by any factor, or upscaled by a non-integer factor, the test will be useless. This has become less than trivial with the advent of high-resolution or so-called ‘retina’ displays. The following section allows to check whether the image will be displayed correctly or not. If you are unable to get the image to display correctly, there is always a printable paper fallback.
Preparations
Before proceeding, take some precautions to improve your chances for success:
- Make sure your web browser and computer display are not zoomed in or out. In other words, check that everything is set to a 100% scale or zoom level.
- Make sure that your computer display, TV, or projector is set to its native resolution and displays its input pixel-by-pixel. For traditional computer monitors it should suffice to choose the highest resolution offered in the displays control panel. For projectors this is not reliable: some models accept a higher resolution and display it downscaled. To be certain, check your projector's manual. Disable any kind of keystone correction or zooming. On TVs and projectors, disable ‘overscan’ (no parts of the image must be cut off).
- On newer high-resolution screens (or ‘retina’ displays in Apple jargon), you should ensure that the display is set to a resolution and zoom factor that causes bitmap images to be displayed at exactly 2× or 3× scaling. In Windows 10 you can directly choose this scaling factor in the Display control panel. Set the resolution to ‘Recommended’ (likely the largest one), and the scale to either 200% or 300%.
In Mac OS X, it is slightly more complicated because even though you can select between different scales in the Displays control panel, the scale factor is not shown explicitly. You need to know the actual number of pixels your screen has, and then select the scale that says “Looks like …” with exactly half that resolution. For instance if your screen truly has 2880×1800 pixels, select “Looks like 1440×900”. If you're unsure, just try all the scales until the verification below checks out.
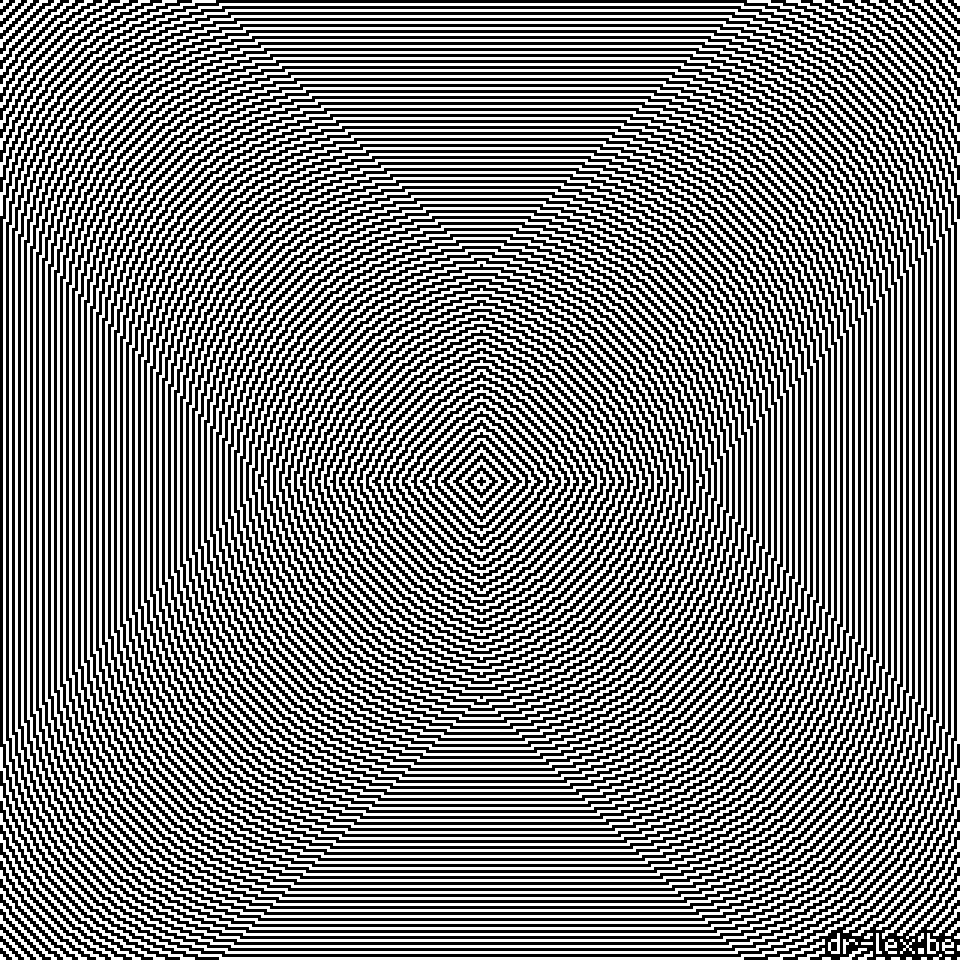
Once you've gone through the above checklist, we can do a first verification. The following image is not the acuity test, but an image that easily reveals whether it is displayed pixel-by-pixel or not.
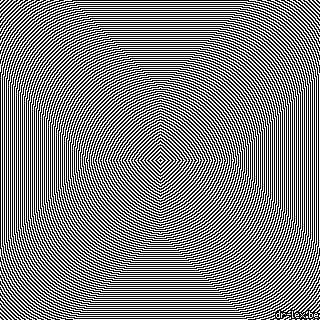
This image must fit on your screen and give an overall impression of a plain uniform grey area. Only when you look very closely, you should see alternating black and white lines in a concentric pattern. If this is OK, then move on to the test.
If the image does look like a uniform gray area but you cannot see the separate lines with the naked eye, either your display is of too high resolution or you simply have poor visual acuity. Don't worry, there is still a good chance the test can work if you try the workarounds below.
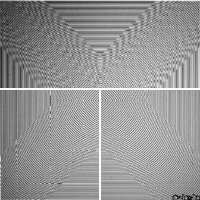
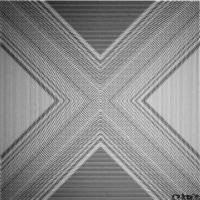
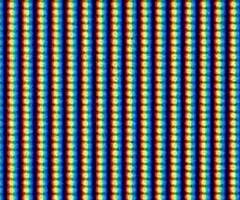
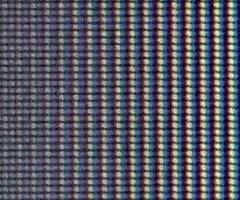
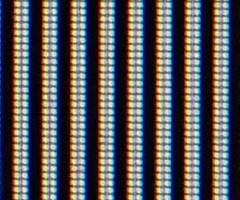
If the image does not look uniform and you see anything else as illustrated below, like an obvious ‘X’ across the image, blots, patterns, or banding, then the image is being rescaled and you must rectify this before you can do the actual test.

Workarounds
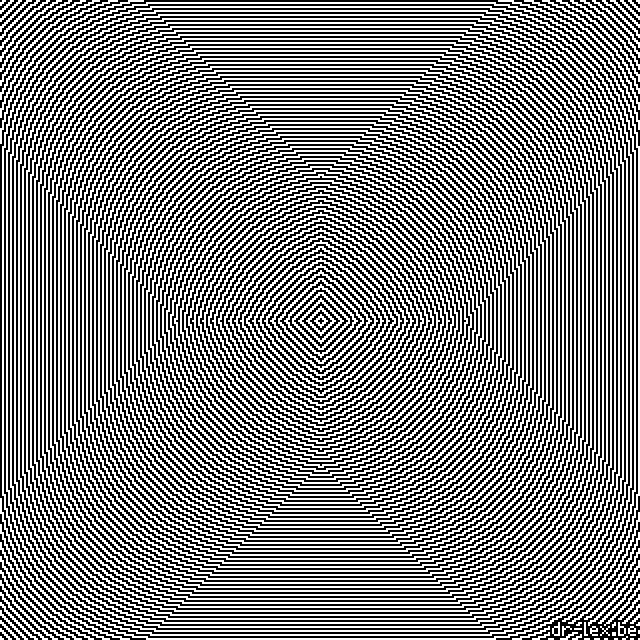
The first thing you can try if the verification fails, is to open the verification image separately. If this causes it to be displayed fine, remember to open the actual test image separately as well, and move on to the test.
A second thing you can try especially if you cannot discern the individual lines, is to open either a 2× upscaled version of the image, or a 3× upscaled version of the image. This may help if your device is displaying images at too high resolution, or if your visual acuity isn't very good. If this solves the problem, remember that you will also need to use the 2× or 3× version of the actual test image, and you can move on to the test.
If you are trying this on a smartphone or tablet and cannot convince it to display the image correctly, there are two things you can try. The first is hitting this magic button: which will attempt a workaround that ought to work for many devices. Re-check the verification image. If it is OK, then the test image will also be OK and you can move on to the test.
If the magic button failed, you can try some manual fiddling even though the chances of success are getting pretty low now. First measure the actual width of the visible part of your screen (in portrait orientation) and the verification image (if it is wider than your screen, measure the height, or try to zoom out). Enter the values here:
This will bring both the verification and test images close the the correct size, but you need to do the final fine-tuning yourself. Try using the ‘Size-/+’ buttons below the verification image to nudge the dimensions until it looks perfect. If this proves impossible, read on.
There can be situations wherein this verification may appear OK while the test image still is not displayed correctly. The only way to be absolutely certain is to look at the test image such that you can see the individual pixels (e.g. use a magnifying glass, walk up to the projection screen, or take an up-close macro photo) and check that there are only pure black and white pixels, and that all lines are either exactly one, two, three, or any other integer number of pixels wide.
In case you cannot get the image to display right no matter what, either find a regular desktop PC or laptop with an old-fashioned monitor or a TV, or use a paper print-out of the test image, although this also is not entirely fool-proof.
Do the Test
Once you have ensured that the test image will be displayed correctly, you can start with the true test. The setup is simple. All you need is some kind of tape ruler or any other reasonably accurate measuring device. If the above verification image checked out right, use the image below. If you had to open the verification image separately to make it work, do the same for the test image now. Similarly, here are the 2× upscaled and 3× upscaled versions of the test image should this be what you need. Or, use your paper version if necessary.

The image consists of two areas. One area has vertical alternating stripes of black and white pixels, the other has horizontal stripes. To help avoid bias in the test, the online versions of the test are animated: the two areas swap places every two seconds. If you are using the paper version, you can avoid knowing beforehand which area contains the horizontal stripes by asking someone else to hang the page on the wall in a random orientation, or spinning it around many times and not looking directly at it while sticking it to the wall.
Proceed as follows: move away from the image to a distance where you certainly cannot discern which part contains the horizontal stripes, and which the vertical. The image must look like two perfectly uniform gray zones divided by a line. Do not rely on subtle differences in intensity between the two areas or other tricks: this test is all about seeing the actual horizontal and vertical patterns. Then, slowly come closer again while keeping on focusing on the center of the image, around the dividing line. When you have just reached the point where you can tell which area contains the horizontal pattern and which one the vertical, measure the distance between your eye and the screen. Call this distance D. Next, measure the width or height of the test image (the grey area). Call this value W.

You can now obtain your visual acuity limit angle α with the formula α = arctan(W/(320⋅D)), or this calculator:
It does not matter what unit you use for D and W, only that the units for both values are the same (e.g. if you use centimetres for D, you must also use centimetres for W). The lower limit for α is about 0.5 arc minutes. If you get something much smaller, something is wrong with your test setup.
Why this test is valid and how it works
Back to the article about Ultra-High Definition